
Learn how to use Google NotebookLM to upload documents, summarize content, chat with your sources, and generate AI-powered insights with this complete beginner’s guide.
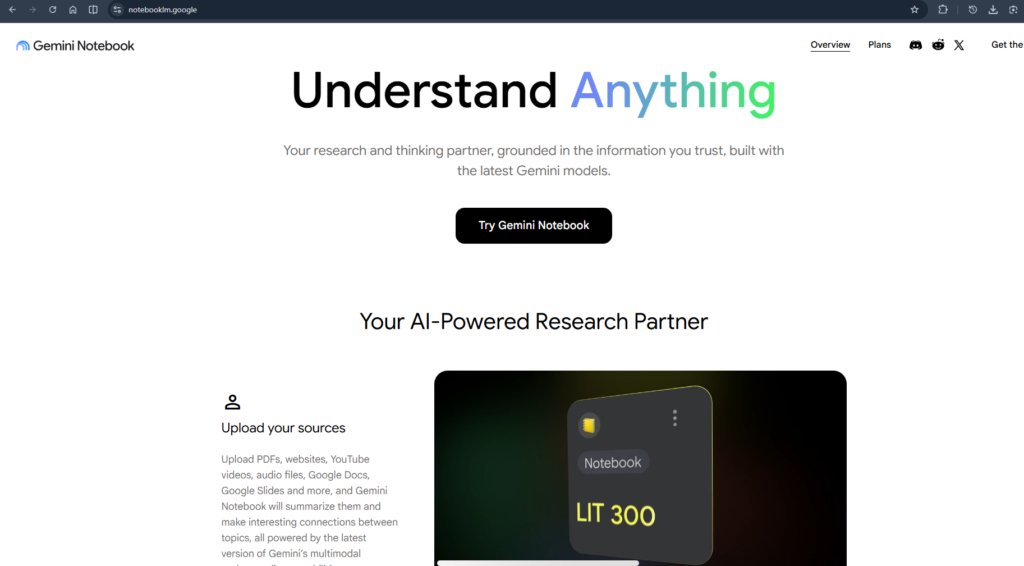
Open your preferred web browser and visit the NotebookLM website.
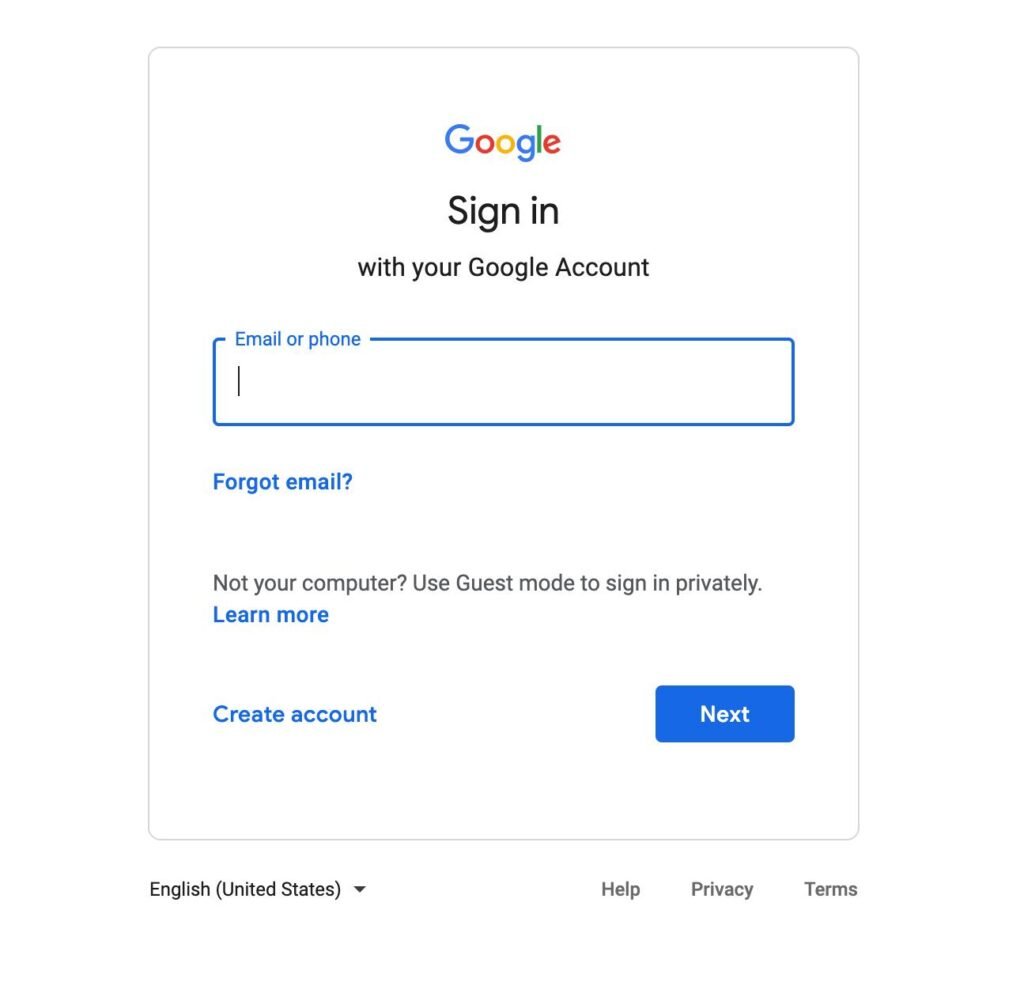
If you already have a Google account, click Sign In.
If you’re new to Google, create a free account before continuing.
If you don’t have a Google account:
Once your account is ready, return to NotebookLM and sign in.
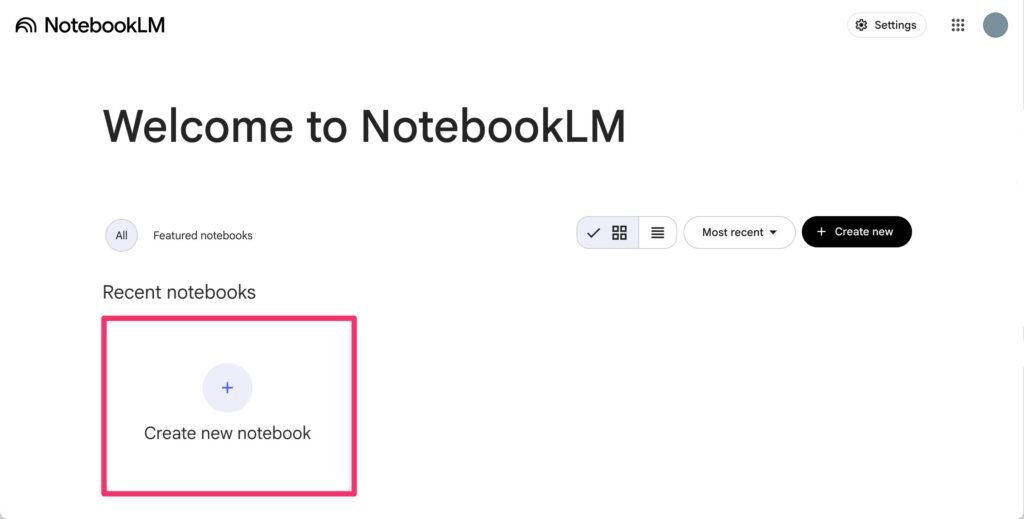
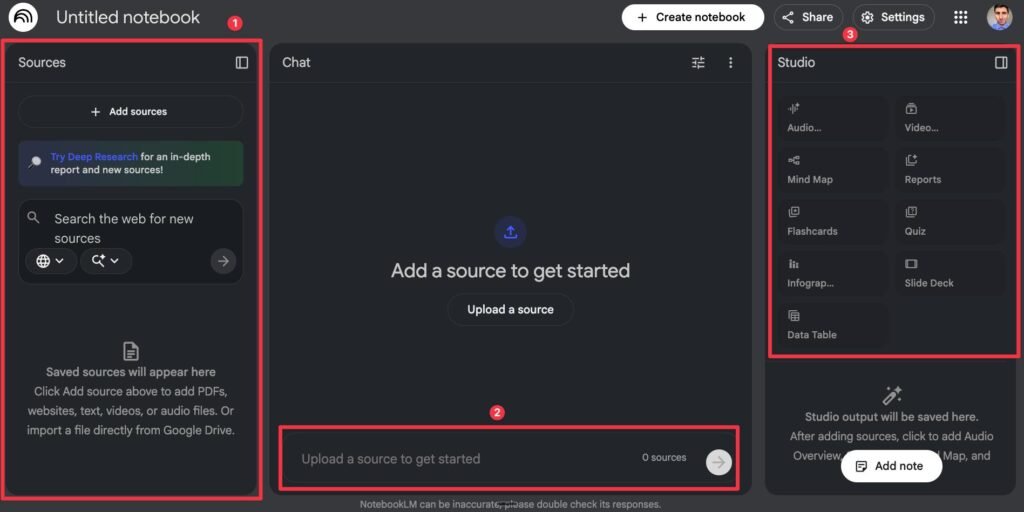
After logging in, you’ll arrive at the NotebookLM dashboard.
Click Create New Notebook.
Choose a descriptive name, such as:
Click Create.
Your notebook is now ready.
Your notebook contains several key sections:
Stores all uploaded documents and references.
Ask questions about your uploaded information.
Save important responses and ideas.
Generate AI-powered outputs such as study guides, FAQs, timelines, podcasts, and more
NotebookLM becomes useful after adding sources.
Click Add Sources.
Supported source types include:
Upload one or multiple sources depending on your project.
After uploading your content, NotebookLM automatically analyzes it.
Within a short time, it generates:
This saves significant research time.
Once processing is complete, you can chat with your notebook.
Example prompts include:
Every answer references the original source.
Studio offers several AI-powered tools to transform your information.
These may include:
These tools make learning and content creation much faster.
To get the most from NotebookLM:
NotebookLM is one of the most powerful AI research tools available today. Whether you’re a student, researcher, blogger, or business professional, it helps you organize information, understand complex topics, and create high-quality content more efficiently.
By following the steps in this guide, you’ll be able to create notebooks, upload sources, ask intelligent questions, generate study materials, and take advantage of NotebookLM’s advanced AI features. As you become more familiar with the platform, you’ll discover even more ways to streamline your research and content creation workflow.