



Luma AI is an advanced creative AI platform that lets users generate and edit images, videos, audio, and other creative content using AI-powered tools and models.
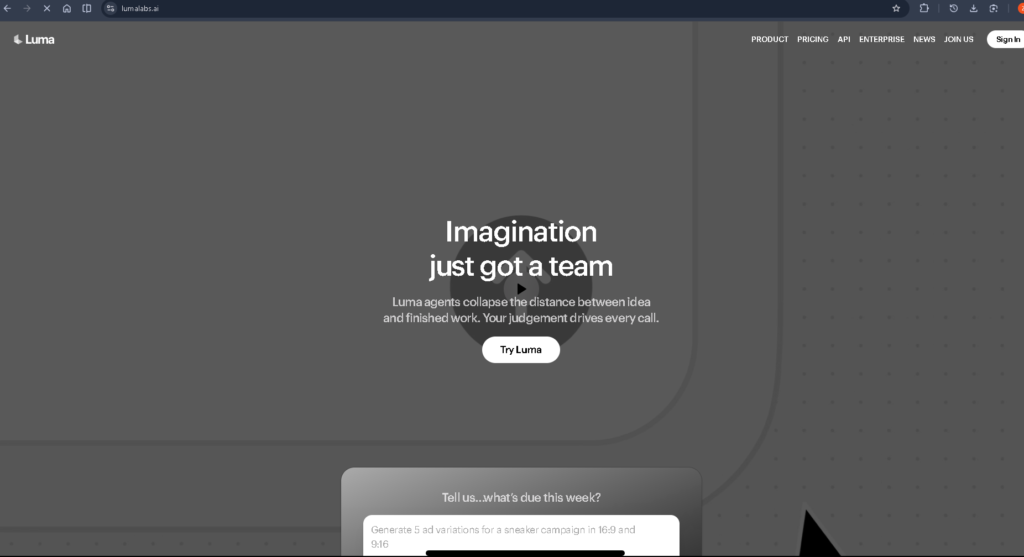
Go to the official Luma AI website:
You will arrive at the Luma AI creative workspace.
Look for the Get Started, Sign In, or similar button on the Luma website.
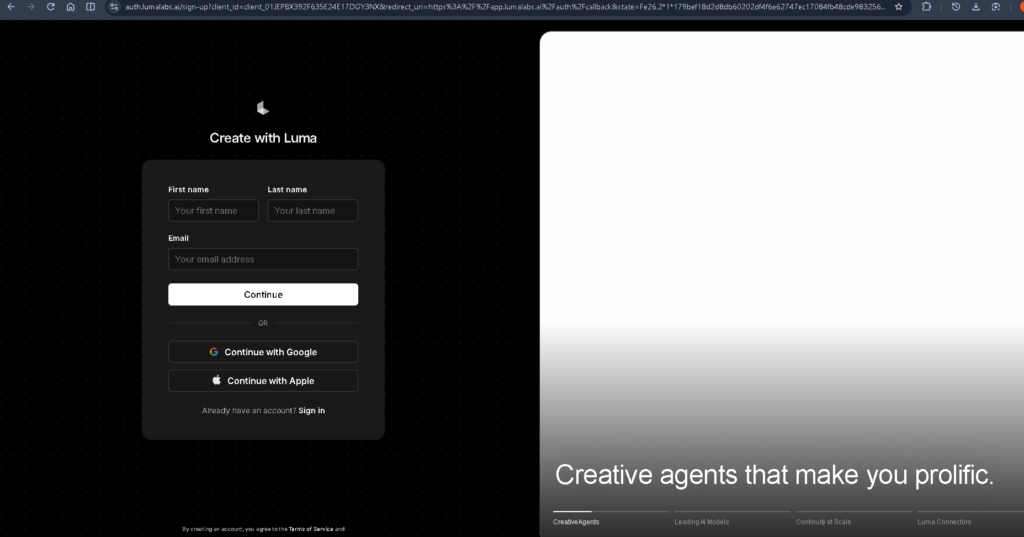
Click it to open the authentication screen.
Choose one of the available sign-in methods.
Depending on the current Luma interface, you may see options such as:
Luma’s current help documentation confirms Google, Apple, email, phone, password, passkey, and SSO login options
If you choose Google:
If you use email, Luma can send a verification code to your email.
After successful login, you’ll enter the Luma App workspace.
This is where you can create and manage your AI projects.
Luma’s current App supports creative agents and workflows across video, image, audio, and other media.
Find the creation area in your workspace.
You can describe what you want Luma to create using a natural-language prompt.
For example:
Prompt:A cinematic shot of a futuristic city at night, neon lights, rain, realistic camera movement.
Enter your prompt and start the generation.
Luma’s current video model is Ray3.2, released in June 2026.
The generation process may take some time depending on the model and settings.
After the video is generated, you can continue working on it.
You can use Luma’s creative workflows to:
Play the generated video and check the result.
Look for:
If you don’t like the result, give Luma another instruction and generate a new version.
Once you’re happy with your creation, use the available Download/Export or Share controls in the project.
Save the finished video to your computer or device.
Official website: app.lumalabs.ai
Login process:
Open Luma → Sign In/Get Started → Choose Google/Apple/Email → Verify → Enter Workspace → Start Creating.
Important:
If you see screenshots online showing the old Dream Machine interface, they may not match the current Luma App. Luma’s official documentation says the current video model is Ray3.2 and the consumer workspace is the Luma App.